How to Upholster Your Sofa
15th August, 2025
Reupholstering a sofa might feel daunting at first, but it’s one of the most satisfying ways to refresh your space. This DIY sofa upholstery guide is designed to help you feel confident, whether it’s your first time or your fifth.
It’s cost-effective, creative, and very achievable with the right tools and planning. So, if you’re ready to learn how to upholster a sofa step by step, grab your staples and fabric, and let’s get started.
Step 1: Gather Your Tools and Materials
First things first, you’ll need a solid upholstery tools list to get going. Most of these items are fairly easy to find, and you might already have a few in your toolbox. Here’s what to gather:
- Staple gun and staples
- Pliers and a flathead screwdriver (for removing old staples)
- Sharp scissors or fabric shears
- Upholstery foam and wadding
- Measuring tape and marker
- New sofa upholstery fabric
- Optional: fabric samples, dust cover, and pre-cut foam
You can often get DIY tools or accessory kits online, which might save time.
Step 2: Choose the Right Upholstery Fabric
Choosing upholstery fabric is where function meets style. Focus on three things:
- Durability: Go for tough weaves like chenille or polyester blends.
- Style: Match colours and textures to your space or aesthetic.
- Cleanability: Choose easy-care fabrics if you have kids or pets.
You’ll want to consider, as well, when to order fabric samples (readily available here at UK Fabrics Online) to test at home; keep in mind fire-retardant options for added safety.
Step 3: Remove the Old Fabric Carefully
Start by flipping the sofa over and removing the dust cover underneath. Then, use pliers or a flathead screwdriver to gently pull out the staples or tacks — a bit at a time.
Take care not to tear the fabric if you plan to reuse any parts as templates. Label each piece clearly so you can track what goes where later. It’s a little fiddly, but this stage often sets the tone for a smoother rebuild.
Step 4: Inspect and Repair the Frame or Springs
Before adding anything new, take a close look at what’s underneath. Even the best fabric can’t hide a wobbly frame.
Here’s what to check:
- Loose or creaky joints — tighten screws or add brackets
- Rusted or sagging springs — replace or re-tie as needed
- Cracks or weak wood — reinforce with wood glue or filler
- Uneven base — add felt pads or adjust legs
Fixing these early will give your reupholstered sofa real staying power.
Step 5: Replace or Add Padding and Foam
Fresh foam makes all the difference. Replace any worn areas, especially on seats and arms. Use:
- High-density foam for firm seating
- Medium-density foam for softer areas
- Wadding for smooth corners
Pre-cut foam is handy, or trim sheets to size. Check everything fits snugly before you move on — a bit of care here sets the stage for comfort and shape.
Step 6: Cut Your New Fabric to Size
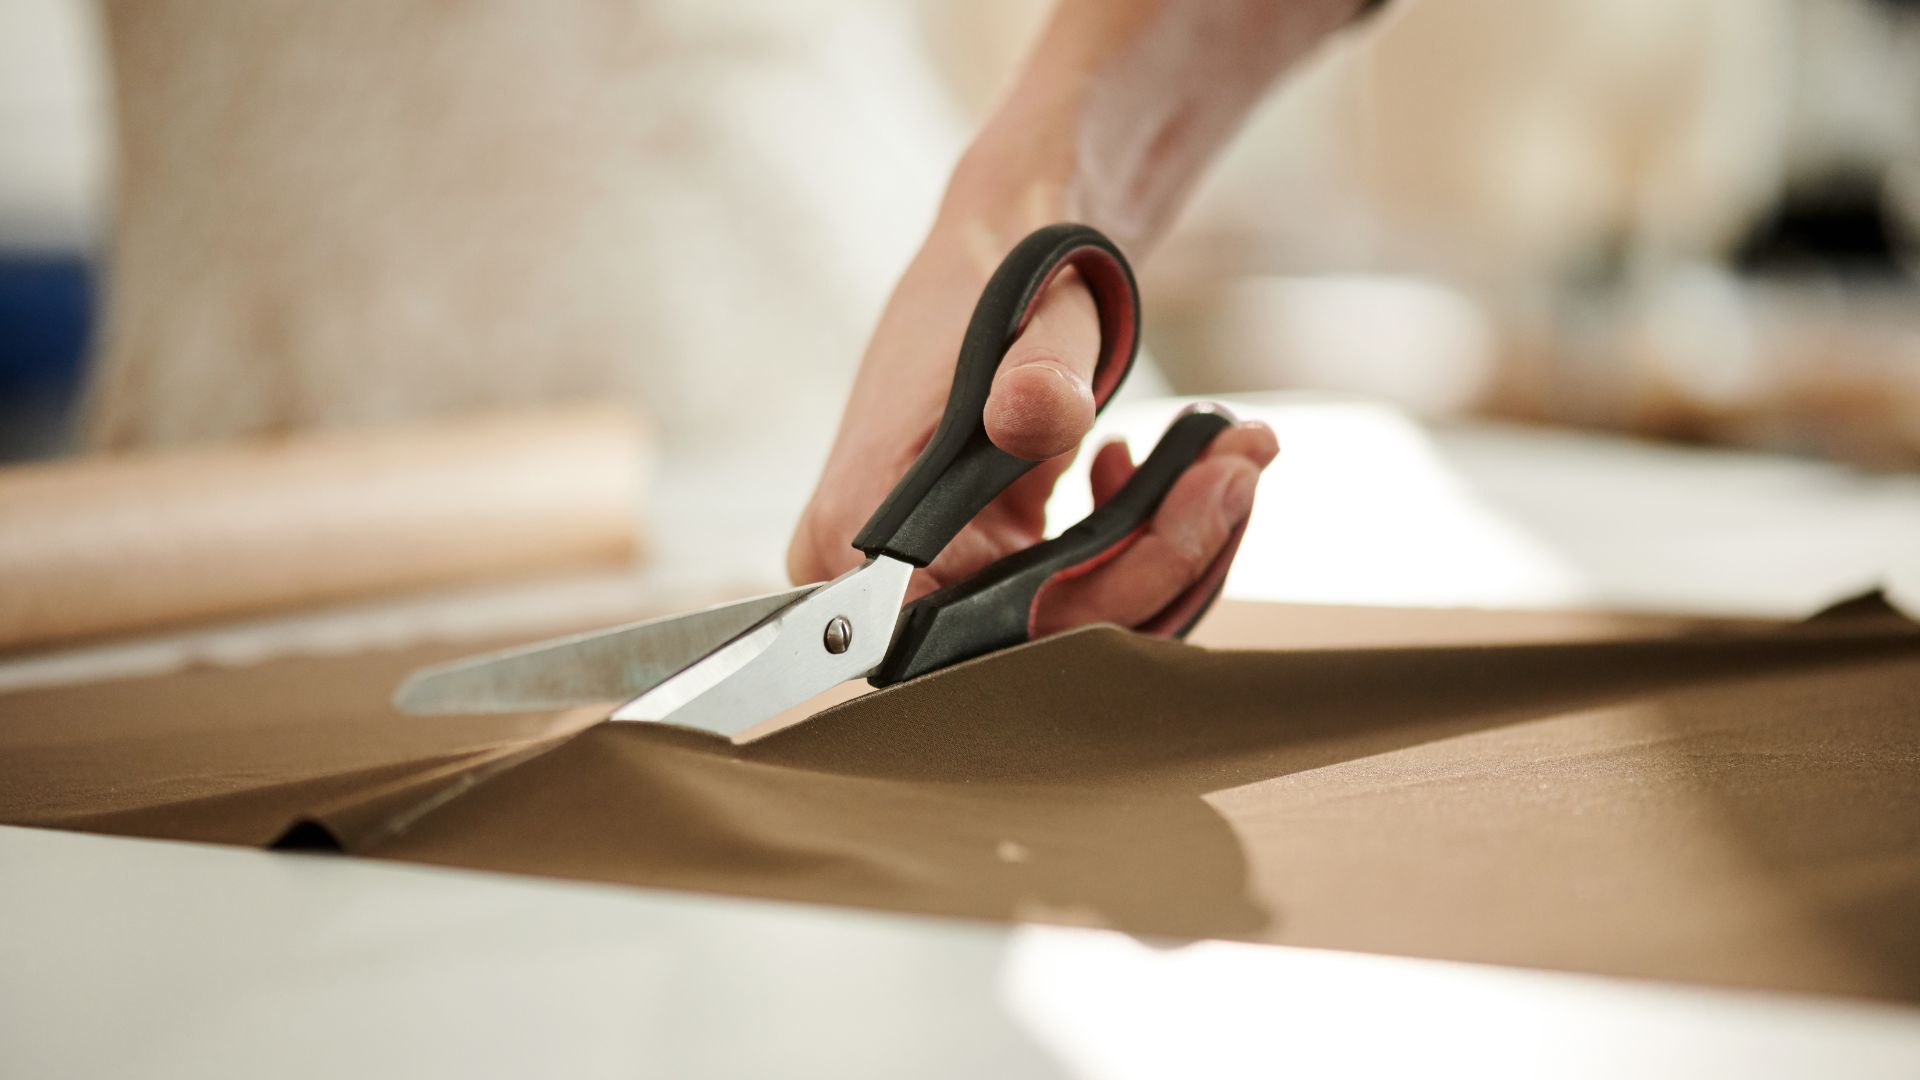
Cutting your new fabric accurately is key to a neat finish and to avoid waste. If you’ve gone to all the effort to find your preferred fabric from us here at UK Fabrics Online, from samples to your agreed upon choice, you want to get it right.
So, lay your new material flat and use the old fabric pieces as templates wherever possible.
Measure twice, then add around 5–8 cm as a seam allowance to each edge. This gives you enough wiggle room to stretch and staple later on.
If you’re new to this, working with larger sections first (like the back or seat) tends to be more forgiving and helps you build confidence as you go.
Step 7: Attach the New Fabric to the Frame
Now for the hands-on bit — securing your fabric to the sofa. Start at the centre of each section and work your way outwards, pulling the fabric tight as you go. This helps keep things even and avoids puckering.
Use your staple gun to fix the fabric in place, keeping staples about 2–3 cm apart. Corners can be tricky, so gently fold or pleat the fabric for a smooth curve.
Take your time and step back now and then to check for alignment — it really helps.
Step 8: Smooth, Stretch, and Secure the Fabric
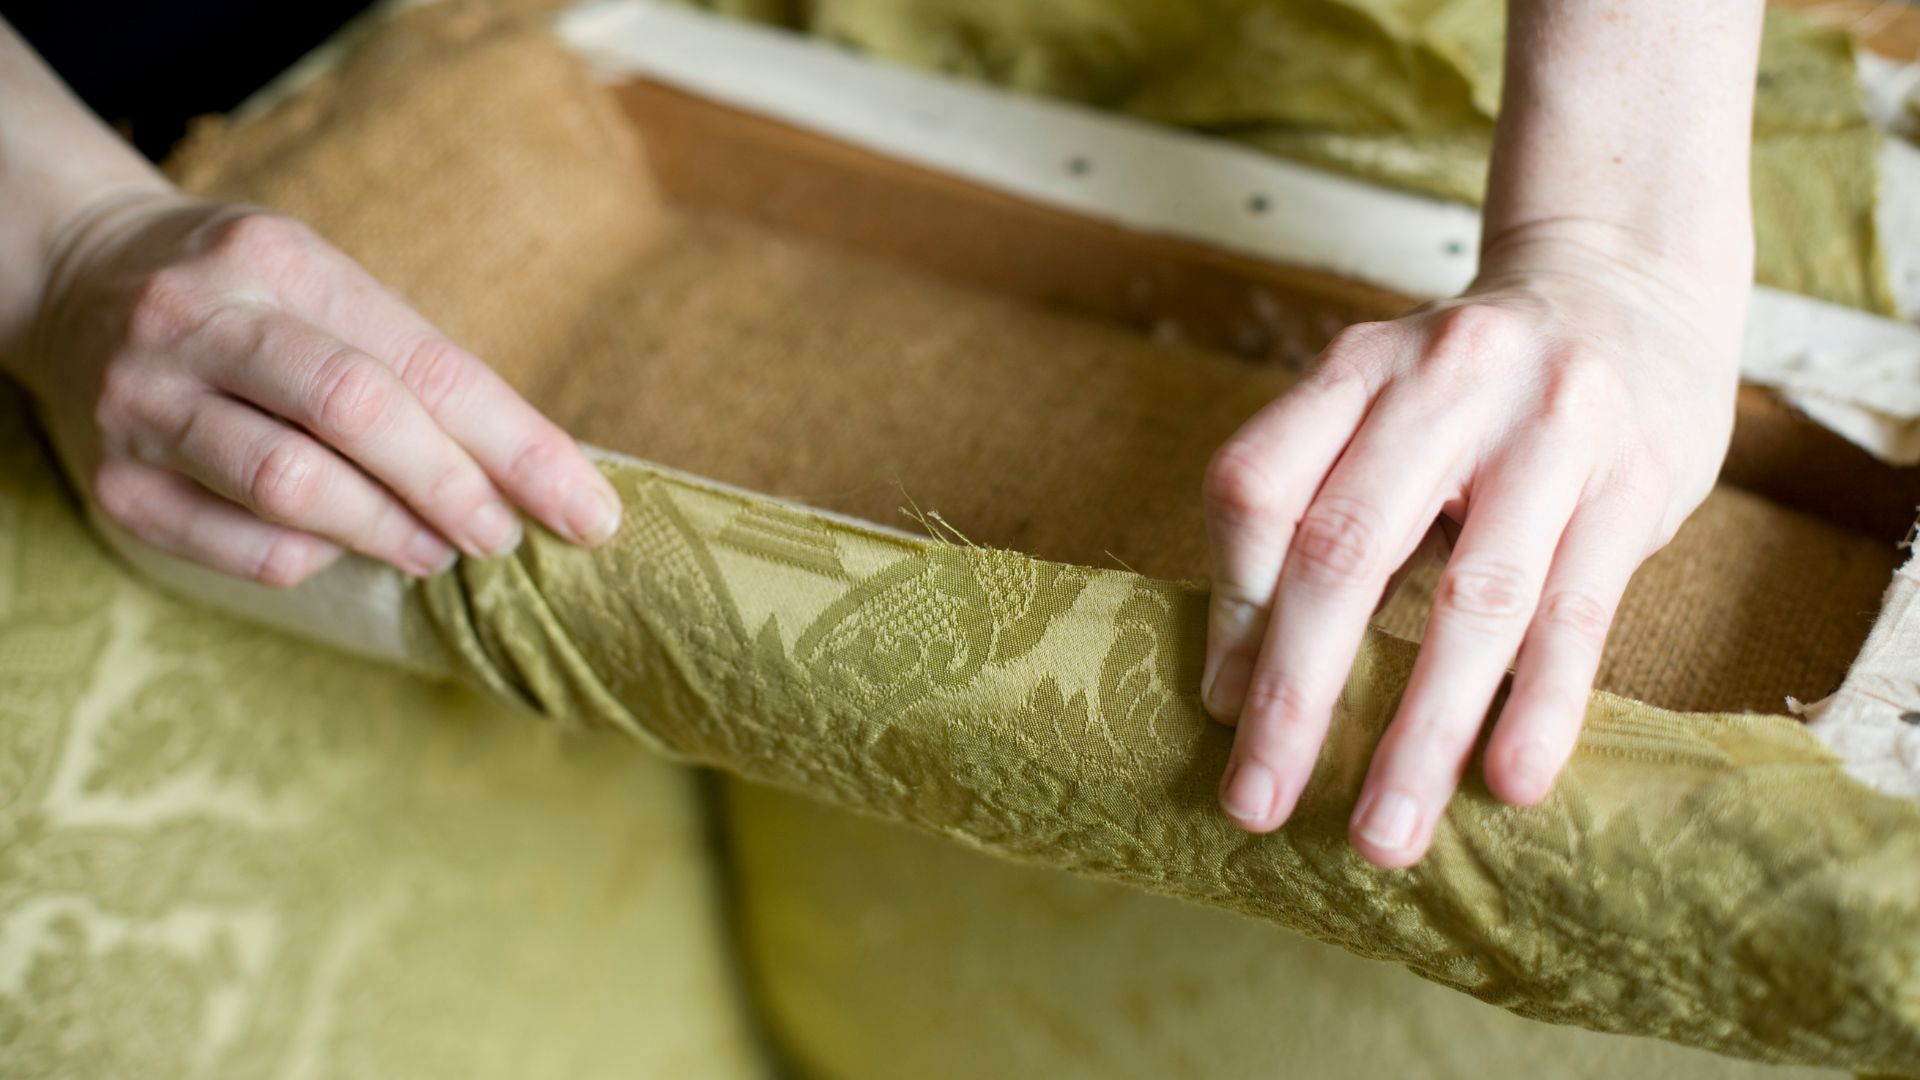
This step is all about finesse. Once the main sections are stapled, go back and smooth any loose areas. Tug the fabric gently — but firmly — to remove wrinkles and create a crisp, tailored look.
If you spot bunching at corners or curves, lift the edge and refasten with smaller folds. You’re aiming for tension that’s even but not strained.
It’s almost like wrapping a present — neat, clean, and just a little snug around the edges.
Step 9: Add Finishing Touches (Trim, Skirt, or Piping)
If you want your reupholstered sofa to really stand out, this is the fun bit. Adding piping, decorative trim, or a tailored skirt can take things from “good enough” to “seriously impressive.”
Use hot glue, upholstery tacks, or hand stitching, depending on the style you’re going for. Just a little detail — like contrast piping or a pleated hem — can bring your whole project together with polish and personality.
Step 10: Reattach Sofa Components (Legs, Cushions, etc.)
Once your fabric is firmly in place, it’s time to reassemble. Flip the sofa carefully and reattach any legs or feet, making sure each one is properly aligned and tightened.
Slide cushions back into position — or, if you’ve recovered those too, give them a light fluff. If you’ve added a dust cover underneath, now’s the moment to staple it in neatly.
In short: bring everything back together, bit by bit!
Step 11: Clean Up and Inspect the Final Result
You’re nearly there — just a little tidy-up to finish the job. Clear away offcuts, check that all staples are secure, and smooth down any lifted edges.
Take a good look at your handiwork from every angle. If you’re proud of the result (and you should be!), snap a few photos — they’re great for sharing your project or tracking your progress over time.
Step 12: Tips for Maintaining Your Newly Upholstered Sofa
To keep your sofa looking fresh, a few simple habits go a long way. Here are some sofa maintenance tips to help preserve your hard work:
- Vacuum weekly using a soft brush attachment
- Rotate and flip cushions to distribute wear
- Avoid placing in direct sunlight to prevent fading
- Spot clean spills immediately with a damp cloth
- Use throws or covers in high-use areas
These small steps add up — and they’ll help your new look last for years.
So, that’s how to upholster a sofa — from bare frame to beautifully finished. It might take a bit of time, but it’s incredibly rewarding to see your own work transform a piece of furniture.
Whether you’re going for a total style refresh or rescuing a comfy old favourite, following these upholster sofa steps gives you confidence and control. If you need any more help or support, get in touch with us to ensure you can complete your sofa upholstering right first time.
Leave a Reply