Ripstop Tote Strawberry Bag – Tutorial
26th May, 2023

I’m Annabel from Annabel Sews (@annabelsews) and today I’m going to share with you a little tutorial on how to make a strawberry bag!
What is a Strawberry Bag I Hear You All Think?
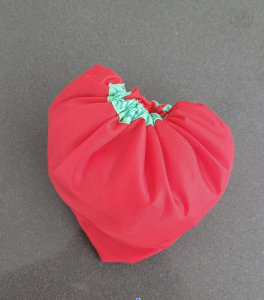
Well, it’s a tote bag, that folds up to look like a strawberry when not in use!
Similar to those manufactured by big supermarkets, these ultra low weight bags, fold up really small to take up less space in your bag.
Having spent a while searching online for a tutorial, I couldn’t find a great one, so I decided to write my own!
This tutorial has been sponsored by UK fabrics online, and they have provided me with the fabric free of charge in exchange for writing this blog for them.
These instructions don’t provide you with the most beautifully finished bag on the inside, however it is neat and ‘finished’ – a sewing term meaning stopped from fraying.
The purpose for this construction method is to provide the lightest, smallest bag when it’s folded up. If you made it with double folds, French seams, heftier seam allowances, and wider straps, then it wouldn’t be as easy to fold up.
Matching your thread colour on the inside will greatly improve the aesthetics of your finished bag.
Fabric Requirements
1- 0.5m of ultra light weight woven fabric such as nylon ripstop – I used this in red, but any colour would work Ripstop Nylon Water Resistant Fabric | UK Fabrics Online
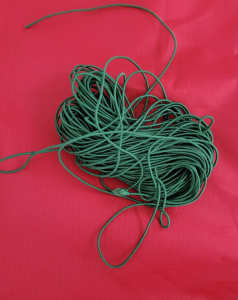
2- 50cm of drawstring cord, corded elastic, or ribbon – I used this Polyester Cord Elastic 1mm – Various Colours (littletshaberdashery.com)
3- 55cm of 12mm single fold bias binding – I used this Jungle Splash (green) – The Specky Seamstress
Cut List and Layout
1- Two rectangles measuring 17” x 15”
2- One rectangle measuring 2” x WOF (width of fabric, or 60”) – this can be cut as two 2” x 30” rectangles if necessary.
If you are using scraps of fabric to cut this out, feel free to ignore the cut diagram, but if you just have 0.5m, you can get it all cut out if you lay it out as follows:

Tutorial
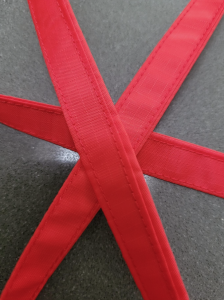
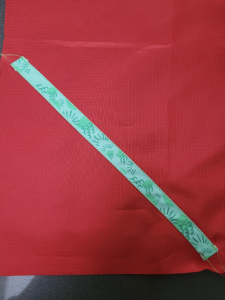
1- Make the strap
I didn’t risk ironing the ripstop, but it holds a finger press well and creases great by hand so ironing isn’t essential. If you are using a cotton/polycotton, you will need to use an iron for this step.
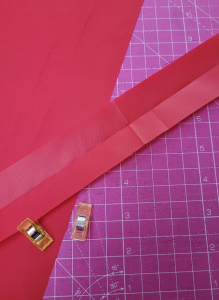
- Fold the long strip in half, to create a thinner (same length) strap. Run your finger along the fold to crease. Open out.
- Take each (long) raw edge and fold it in towards the centre fold. The two raw edges should be touching, at the middle fold. Finger press these creases in place.
- Refold the strap along the original centerfold. Clip or pin in place.
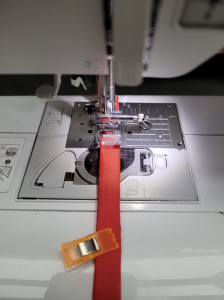
- Sew along both long edges, using a long length (3) straight stitch, as close to each edge as you can, ideally around 1/8” or 0.2cm.
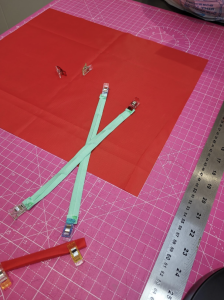
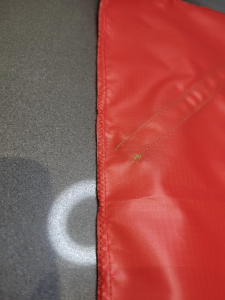
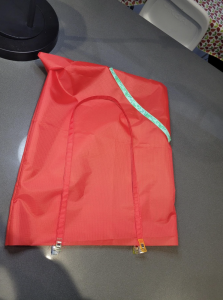
2- Add bias binding to the front and back
- Lay each of your main pieces face up (if you have a right/wrong side, the ‘pretty side’ should be visible, and if your fabric is directional, the pattern should be correctly aligned, with the images in a landscape orientation), 15”wide and 17” tall.
- Cut two strips of bias binding, each 10.5” long. Fold each short end to the wrong side 1cm and tack, baste or pin in place.
- Using pins, washaway zip tape (like this: Prym Wonder Tape 6mm #987125 (littletshaberdashery.com) ), or prit stick to align the bias tape at a 45’ angle in mirrored corners of the two bags (bottom left on one, and bottom right on the other)
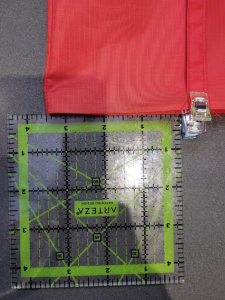
- The top of the bias tape should be 7.5” up from the bottom of the bag, and 0.5” in from the side. The bottom of the bias tape should sit 7.5” along from the corner, and 0.5” up from the bottom edge.
- Pin, baste, or stick into place.

- Sew along the two long edges of each strip of bias as close to the edges as possible, ideally 1/8” or 0.2cm, remembering to reverse stitch (backtrack) at the beginning and end of each line of sewing. The short edges should remain open.
- Repeat for the other pattern piece.
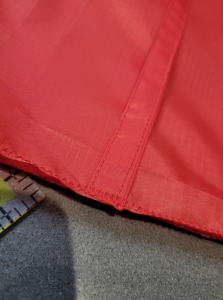
3- Construct the bag
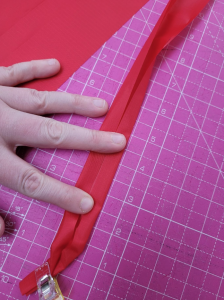
- Place the two main bag pieces right sides together (this means the bias binding strips should be next to each other, on the inside).
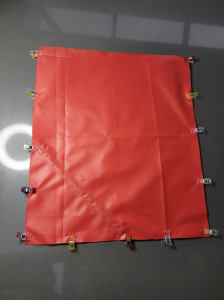
- Pin or clip along the two long 17” sides, and along the bottom. Leave the top open.
- Sew using a standard constructions stitch (length 2.2 to 2.5) along all three edges using a 1/4” or 0.6cm seam allowance.
- Start at one of the top corners, sew straight down to the bottom, stopping 1/4” from the bottom, ensure your needle is down, lift your presser foot, rotate the fabric 90’, replace the presser foot, and continue sewing along the bottom of the bag, until 1/4” before the edge.
- Ensure your needle is down, lift your presser foot, rotate the fabric 90’, replace the presser foot, and continue sewing along the second side.
- Stop at the top. Backtrack, or secure your stitches at the start and end.
- Change your machine stitch settings to a zig zag and sew along the same three sides as before, just to the side of your original line of stitching; for a more professional look, aim to hit right on the edge of the fabric, or use an overlocker.
4- Add straps
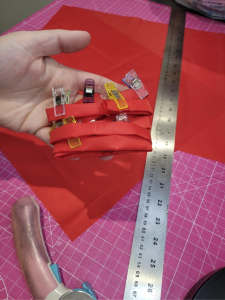
- Cut your 60” strip into two 30” strips (not necessary if you started with two 30” strips).
- Mark 3.5” in from each edge with a clip or washaway pen/pencil. On the right side of your bag, clip your stap to the top edge of your bag, aligning all raw edges, and with the strap hanging down.
- One end of each strap aligns with one clip/marker. Ensure there are no twists in the strap.
- Open your bag and sew along the top open edge, all the way around, using a zig zag stitch. This will stop the fabric from fraying, whilst also securing the straps for the next step.
- To give each strap more confidence, go over each strap, reverse back over it, and then continue on forwards. This means each strap gets sewn over three times.
- Once you get back to the beginning, backtrack or secure your stitches.
5- Top Stitch
- Fold the top raw edge under 0.5” to the wrong side. Press the crease with your fingers to hold, and use clips to keep it in place. Flip up your straps so they are coming out the top of the bag. Clip them up too.
- Change your machine settings back to a straight top stitch setting (length 3) and sew two parallel lines around the top, folded section of the back.
- Same as with the zig zag, you’re going to sew over each strap, reverse back over it, and continue forward again at each strap. One line will be close to the top of the bag, and one will be close to or over the zig zag.

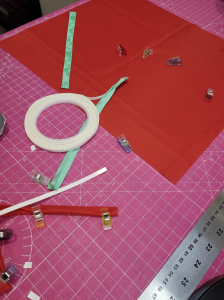
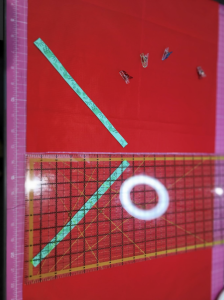
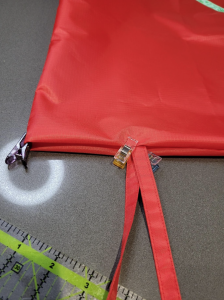
6- Thread the elastic or drawstring through the bias
Using a safety pin or strap turner (something like this – 4 Pieces Sewing Loop Turner Hook Long Loop Turner Tool with Latch for Fabric Belts Strips DIY Knitting Accessories, 26.5 cm/ 10.4 Inch : Amazon.co.uk: Home & Kitchen) thread your elastic, ribbon or cord through the bias channel.
- You want the cord to go in along the side, to the bottom, back in at the bottom on the other side, and up to the side seam and out again.
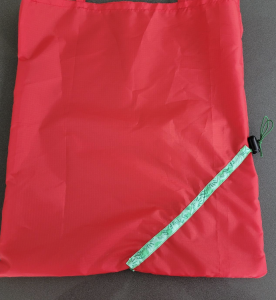
- Optional: add a single toggle with both ends of the strap in one. If you find it hard to thread, try sticking the two ends together with Sellotape and manipulating into a pointed shape.
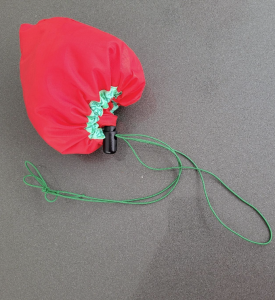
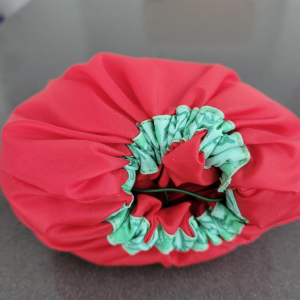
Your bag is done! Use it as it, and to fold it up, pull the cord and tuck the whole bag inside the corner. Tighten the toggle to secure.
If you make one, I would love to see, use the hashtag #annabelsewsstrawberrybag, tag @annabelsews and @ukfabricsonline on Instagram!
Tutorial created by Annabelsews (@annabelsews) for UK Fabrics Online.
Visit us at UK Fabrics Online to check our Ripstop range!
If you have any questions, email us or leave a comment here.
Hope you enjoy this one.
Thank you!
Leave a Reply