How To Make A Tartan Circle Skirt
27th October, 2023

Hello all, it’s Camilla (@she_sew_fabulous) back again with another beginner friendly tutorial – How To Make A Tartan Circle Skirt!
In this blog post, I thought I’d show you how to self-draft a garment. If you follow me on Instagram, you’ll know that recently I’ve been very into making skirts.
Today I’m going to show you how to make a super simple elasticated waistband circle skirt with Tartan!

Circle skirts are lovely to wear!
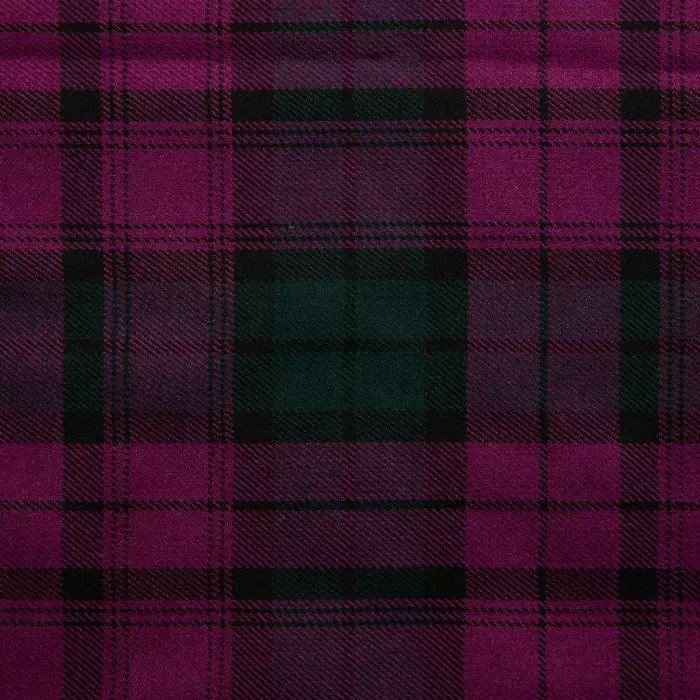
UK Fabrics online have a great selection of tartan and I couldn’t resist this gorgeous purple one, which is really lovely and soft.
Any fabric with a good degree of drape will work for this: cotton, linen, even thin corduroy. The trick is not to pick something too stiff (unless, of course, you want to experiment with a more structured style, which is part of the beauty of sewing after all!)
How To Make A Tartan Circle Skirt
Fabric Requirements
- Fabric: 2-3m of your chosen fabric (I chose this Purple Tartan from UK Fabrics Online.)
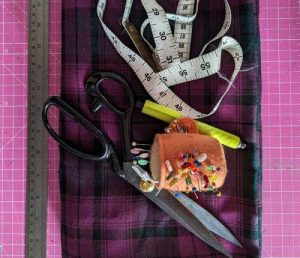
- A measuring tape
- A metal ruler (useful if you have one, you can manage without)
- A chalk / fabric marker
- Fabric scissors
- 1 inch elastic
- Pins or clips
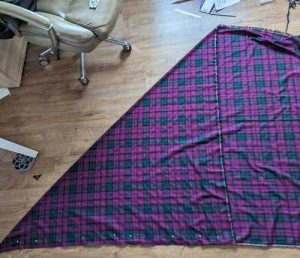
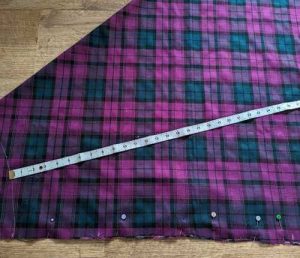
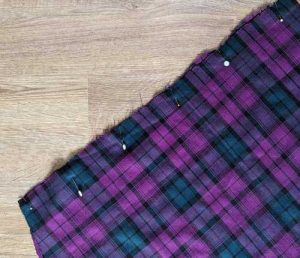
Step 1 – Laying the Fabric Flat on the Floor
The first thing you need to do is lay your fabric flat on the floor, take one corner and fold it diagonally all the way across. You’ll see from my picture that I’ve used pins to pin the bottom edges together, as the fabric has a habit of shifting when you work and it’s really important to keep it all together.
Step 2 – Working Out the Radius of The Circle Skirt
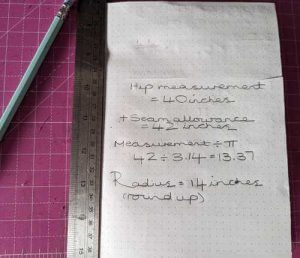
Next is the trickiest bit, which is working out the radius of your circle skirt. We’re making a half circle skirt, which means that we’re cutting out two pieces of fabric and sewing them together. In order to calculate your radius, you need to :
- Measure around your hips (note, hips and not waist : this is because the skirt needs to be wide enough to go over your hips before it sits on your waist, once you’ve added the elastic in).
- Add on a seam allowance (I add 2 inches, to be on the safe side).
- Divide your measurement by pi (3.14).
- Round up to the nearest inch.
To put this into context, here is what my process looked like :
You’ll notice that I add on quite a lot of extra and this is purely to make sure that the skirt gets over my hips and fits properly.
I once made a circle skirt where I hadn’t taken the right measurements and had to start all over again, because it wouldn’t go over my hips. The extra width will even out once you add the elastic and doesn’t add extra bulk.
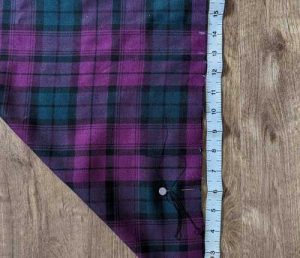
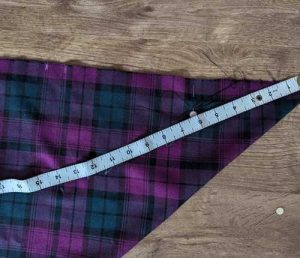
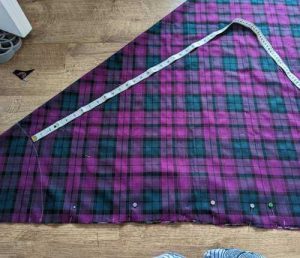
Step 3 – Turning Measurements into a Radius
To turn your measurement into a radius, you need to measure down from the tip of the point (in my case, 14 inches).
You then need to move the tape measure along, while still keeping it on the point and draw in a couple more markers. These will then be joined together to draw on your radius.
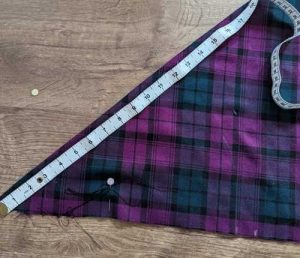
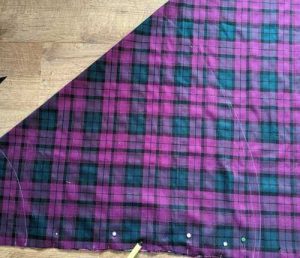
Step 4 – Measuring the Length of the Skirt
Next, you want to measure the length of the skirt.
This will be determined a) by personal preference and b) by how much fabric you have.
You want to be careful that you don’t make the first piece too long and then don’t have enough fabric to match it up when creating the second piece. You accomplish this by working out where the middle of the full piece of fabric is and not extending past that with your length.
I wanted mine to be around knee length, so took a measurement of 23 inches from the radius. You need to repeat the process of taking a few markers, so that you can create a curved edge.
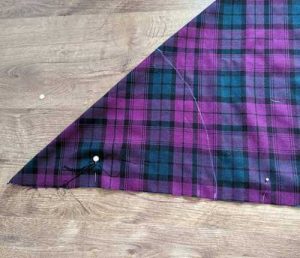
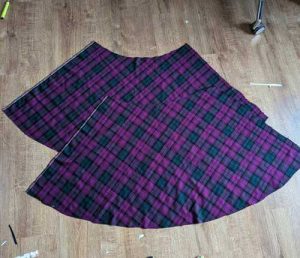
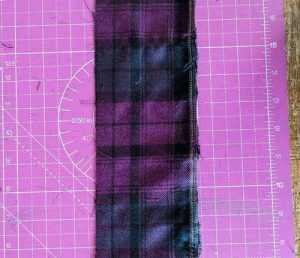
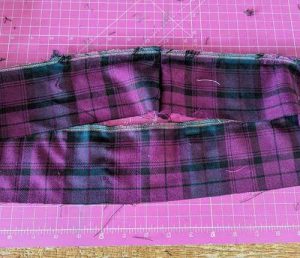
Step 5 – Cutting the Skirt Pieces
Once measured, cut out both your pieces, which should look like this.
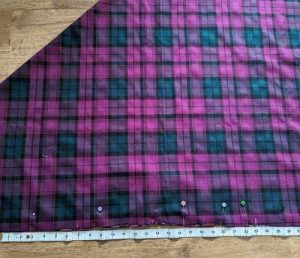
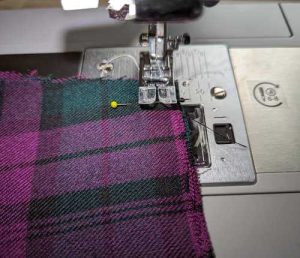
Step 6 – Pinning the Skirt
Pin together the skirt halves along the diagonal edges and sew together (I use a ⅜ inch seam allowance, but you should be able to go up to a ⅝ inch seam allowance and still be able to get it over your hips.)
Step 7 – Creating the Waistband
Next, you need to create a waistband, as this provides the neatest finish to encase the elastic. This is done by measuring right the way around the opening of your skirt. Mine was 48inches, so I added an extra inch on for seam allowance and cut a long strip of fabric 49 inches long and 4 inches wide (note : this works for 1 inch elastic.
If your elastic is wider than this, you will also need to widen the width of the waistband, otherwise you won’t be able to fit it through).
Step 8 – Sewing the Short Edges
Once cut, you need to sew the short edges of the waistband together, using a ½ inch seam allowance.
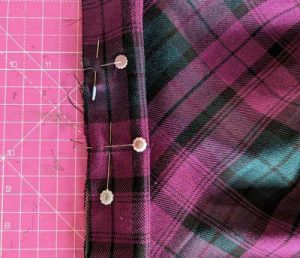
Step 9 – Pin the Waistband Onto Your Skirt
Now, you need to pin the waistband onto your skirt, leaving a 2 inch gap, which you’ll need in order to feed in your elastic. So that I know where to start and stop, I always mark the gap by crossing over my pins. I start and one set of crossed pins and I know that when I get to the other, I need to stop sewing.
Step 10 – Threading the Elastic
The next step, which can be a bit fiddly, is threading the elastic through. First of all, you need to work out how much elastic you need, which is easy to accomplish.
I wrap the elastic round my waist and then subtract 2 inches. This is because you want the elastic to stretch when it sits on your waist, otherwise the skirt will fall down.
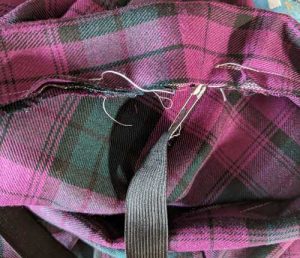
Once cut, insert a safety pin onto one end of the elastic. This needs to be done in order to feed it through, otherwise you’ll have nothing to hold onto. Put the safety pin end into the channel and then start feeding it through, evening out the gathers as you go.
If the other end of the elastic gets to the gap you left, make sure to pin it in place so you don’t lose it in the waist channel and have to start all over again.
Step 11 – Sewing the Ends
Finally, sew the ends of the elastic together by overlapping them and going back and forth several times using a zig zag stitch, attach the gap in the waistband, hem and voila, you’ve just self-drafted a skirt!


A circle skirt is such an easy pattern to make and is a very satisfying sew. There’s also lots of scope for customisation, such as:
- Using a pocket piece from another pattern to add in either in seam or patch pockets (or both, if you like being pocketful!)
- Cutting a diagonal from front to back to create a high-low hem (I have a skirt like this on my Instagram page and the result is really dramatic).
- Variations in length.
- Additional tiers / wider waistband.
- Anything else your imagination can think of!
I hope you enjoy self-drafting this very simple garment and I’d love to see some of your makes!
If you make one, please tag @she_sew_fabulous and @ukfabricsonline on Instagram!
Tutorial created by Camilla (@she_sew_fabulous) for UK Fabrics Online.
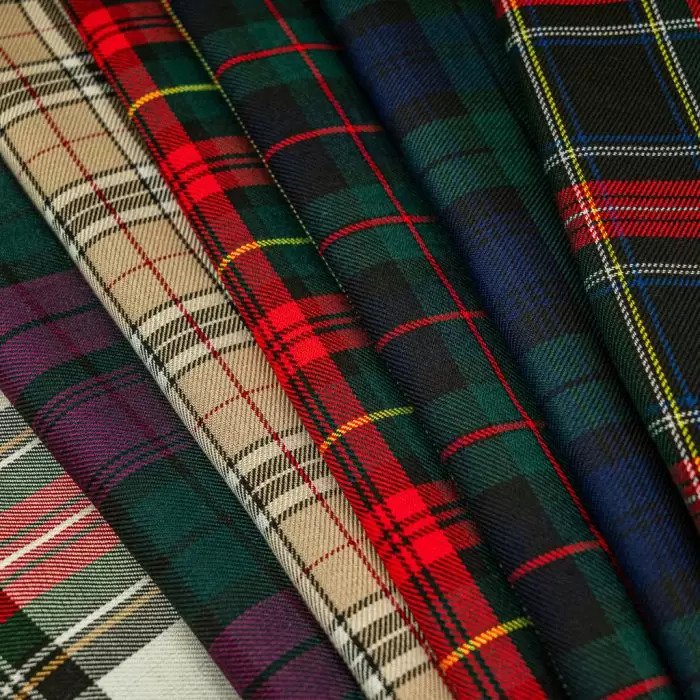
Visit us at UK Fabrics Online to check our Scottish Tartan Range!
If you have any questions, email us or leave a comment here.
Hope you enjoy this one.
Thank you!
Leave a Reply