How To Make a Waterproof Outdoor Tote Bag
4th August, 2023
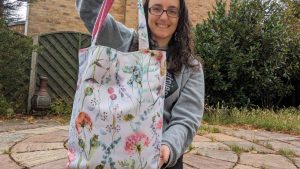
Hello! My name’s Camilla, also known as @she_sew_fabulous over on Instagram.
In this blog post, I will guide you on how to make a waterproof outdoor tote bag using this lovely water repellent printed outdoor upholstery fabric from UK Fabrics Online.
I went for the ‘dandelion flowers autumn’ colourway, but there are four different ones to choose from, each one lovely, cheerful and summery.
How To Make a Waterproof Outdoor Tote Bag
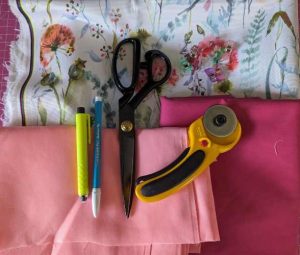
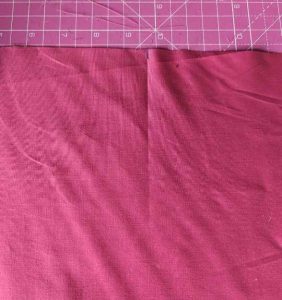
You’ll see from my pictures that UK Fabrics Online kindly sent me two lining fabrics.
I hadn’t made my mind up at this point, but ended up going with the darker one as it was a little more purple, which is my favourite colour. Either one would have looked lovely with the outer fabric.
The beauty of a tote bag pattern is that you can very easily change the size, depending on what works for you (see some customisation ideas at the end of the tutorial).
I wanted a bag that would be good for running errands / light shopping, but not something that was so big that I’d inevitably overfill it and make it too heavy to carry (a common problem with me and bags!).
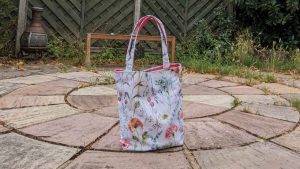
The finished piece will have the approximate dimensions of 13 x 15 inches.
Fabric Requirements
In order to replicate this pattern yourself, you will need:
- 1m outer fabric (I used Water Repellent Printed Outdoor Fabric – Abstract Floral).
- 1m lining fabric (I recommend something lightweight, like cotton poplin).
Please note, it is possible to make this using ½ metre of each fabric, providing there is no directional print / pattern matching to take into consideration. - Chalk / fabric pen for marking.
- Fabric scissors / rotary cutter.
- Matching thread.
- Clips / pins (I recommend clips as much as possible to minimise the number of holes you make – too many may affect the water repellent nature of the fabric).
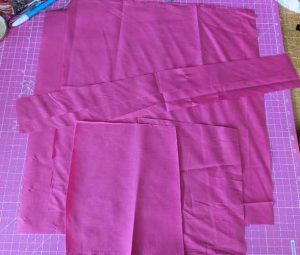
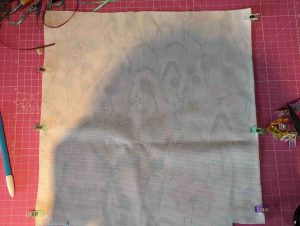
Step 1
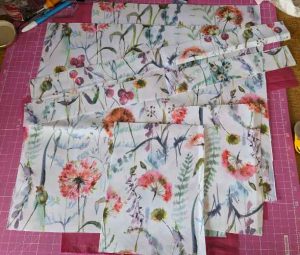
To get started, you will need to cut the following pieces, from both lining and outer (i.e. you need exactly the same amount of pieces in both fabrics) :
- 2 x rectangles 15 x 17 inches(main body of bag)
- 2 x rectangles 2 x 22 inches(straps)
- 2 x rectangles 2 x 9 inches (pockets)
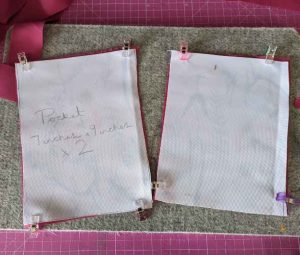
Step 2
Once all your pieces are cut out, begin by getting your 4 x pocket pieces and attach lining to outer, right sides together.
Step 3
Leaving the top open, sew the pieces the rest of the way around using a ⅜ inch seam allowance. Snip the corners to allow a nice, crisp point when you turn them the right way.
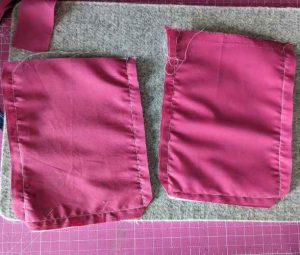
Step 4
Turn the pocket pieces the right way up and poke out the corners so that they’re as pointed as you can manage.
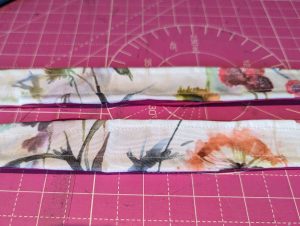
Step 5
Next, fold over the unsewn top by half an inch towards the lining of the fabric and stitch down. This will become the top of your pocket and the interior won’t show from the outside.

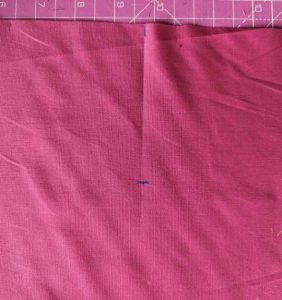
Step 6
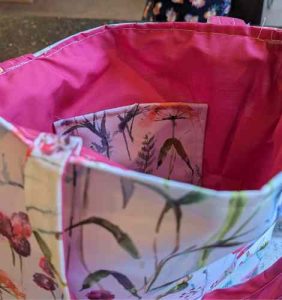
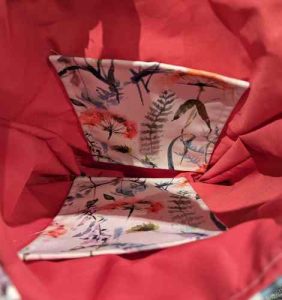
The next step is to attach the pocket pieces to the lining fabric, one on each side. In order to do this neatly, you first need to find the centre of the main lining piece, which is done by folding the fabric in half lengthways and marking the centre.
Step 7
You then measure 4 inches down from the centre and make another mark. This denotes where the centre of your pocket top will be placed.
Step 8
Find the centre of your pocket the same way (by folding in half and marking) then align this centre with the mark you made 4 inches from the top of the lining.
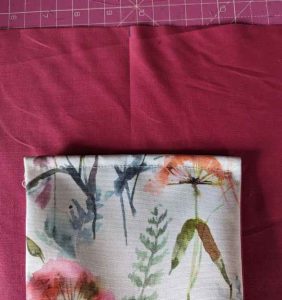
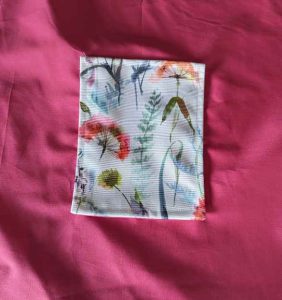
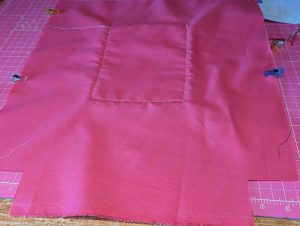
Step 9
Next, you need to attach the pocket to the lining before you sew. This is the only step I’ve used pins for. Attach the pocket and then sew from one top corner to the other, leaving the top open, aligning the presser foot with the edge of the pocket, so that you get as close to the edge as you can. Repeat for the second pocket
Step 10
Put the lining / pocket pieces to one side for now and turn your attention to your straps, which you want to sew right sides together (lining + outer) down the long edge. In order to make turning out easier, you need to leave a 2 inch gap in the centre of each strap. Use a ⅜ inch seam allowance.
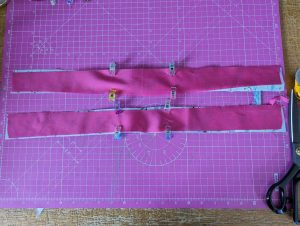
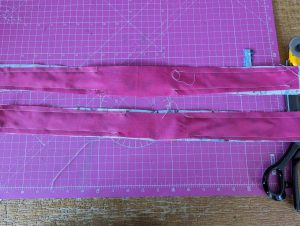
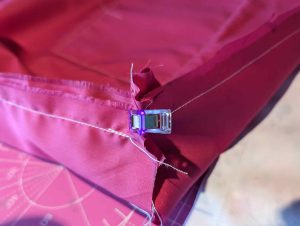
Step 11
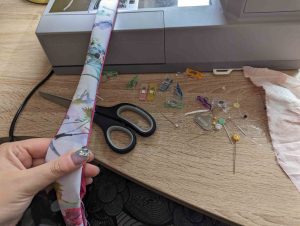
Once sewn, you have the harrowing task of turning the straps out, which remains one of my least favourite sewing tasks. Once done, what always feels like hours later, you then need to top stitch all the way down the long sides, closing the gaps you left for turning. I find it easiest to clamp the strap under the presser foot and stretch slightly to tuck the fabric in and clip into place. You want to sew once again by running the presser foot down the edge of the strap. Repeat for the second strap.
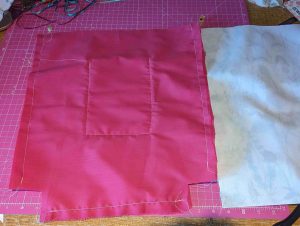
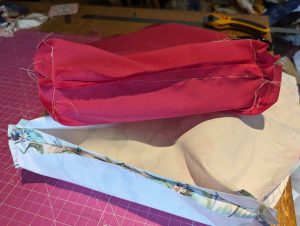
Step 12
Set the straps to one side and turn your attention to the main body of the bag. In order to get nice, squared off corners at the base, you need to snip a 2 inch square off each bottom corner. The easiest way of doing this, is to clip the fabrics together and then measure and cut out the 2 inch square. This process needs to be done on both lining and outer fabrics.
Step 13
Once you’ve snipped out the corners, you want to sew all the way down the long edge to the squared off corner and then along the bottom with a ⅝ inch seam allowance. You will need to leave a 2 inch gap along the short edge of the lining in order to turn your bag out once lining and outer are attached. Please note, as you will see from my picture, I forgot to do this here, so I left my gap when attaching the lining and outer piece later. This is personal preference and both methods work well.
Step 14
Once the lining and outer shell are attached, you then want to sew the corners. This is done by putting your fingers into the corners you cut out and pulling them apart, to realign the unsewed edges. Once you’ve correctly positioned them, sew together using a ⅝ inch seam allowance (this part makes sense once you have the bag in front of you – trust me!)
Step 15
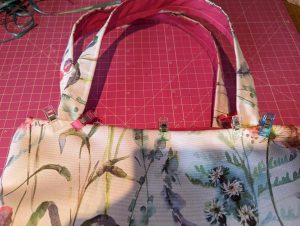
After you finish the corners, you then have the job of attaching the outer to the inner, with the straps sandwiched in between.
There are a couple of important things to note here:
- You will need to ensure that the straps aren’t twisted when attaching.
- The unsewn ends of the straps need to be lining up with the top edge of the bag.
- In order to ensure the straps are attached in the right place, line them up with the pocket edges.
- It’s personal preference at this point whether you want the lining or the outer fabric on show on the outside. I’ve done both in the past as sometimes it’s nice to have the lining on show here, especially if you’ve used decorative fabric. Attaching the straps as I have here will place the lining on the outside. If you prefer the opposite, attach the other way around.
Step 16
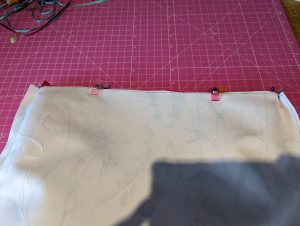
The lining and the outer need to be attached right sides together.
To achieve this, I turn the lining right side out and leave the outer wrong side out.
I drop the lining into the outer and then clip / pin the fabrics right sides together. When attaching, you should not be able to see the straps : they need to remain sandwiched between the lining and outer in order to be visible / usable once you turn everything the right way up.
If you didn’t leave a gap in the bottom for turning, you will need to leave one here. I left a 2 inch gap between the handles on one side. Sew together using a ⅝ inch seam allowance.
Step 17
Turn everything the right way up using the gap you left in either the top or bottom of the bag.
Use this opportunity to stick your hand through the hole and check you’re happy with the corners on the lining and the outer, as this will be your last opportunity to fix them / ensure they’re properly turned out before you sew everything together.
If you left your hole at the bottom of the lining, sew it up now. You then need to add a final topstitch all the way around the top of the bag, to hold the lining in place.
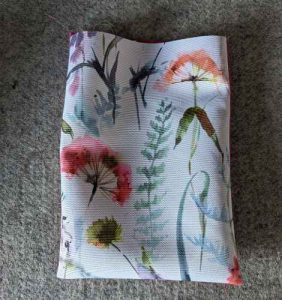
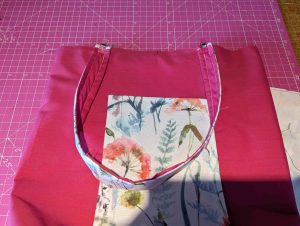
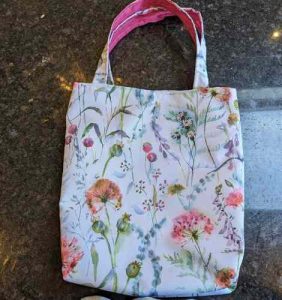
All done!
And there you have it…One completed water repellent tote bag!
Conclusion
This is a relatively simple pattern to construct, but there are lots of ways of customising it, for example:
- Varying the size of the outer pieces for bigger / smaller totes.
- Adding press on / magnetic snaps / zips on the pocket pieces or top to add a fastening to your bag.
- Omitting the pockets and using two similar weight fabrics with French seams to make the bag reversible.
- Omitting the squared off corners to make a straight tote bag.
- Adding pocket flaps.
- Adding wadding to make the bag puffier.
- Adding interfacing to make the handles / body of the bag more rigid (always attach the interfacing to the lining as ironing water repellent fabric may damage it).
Water Repellent Printed Outdoor Upholstery Fabric – Abstract Floral


If you make one, please tag @she_sew_fabulous and @ukfabricsonline on Instagram!
Tutorial created by Camilla (@she_sew_fabulous) for UK Fabrics Online.
Visit us at UK Fabrics Online to check our Printed Waterproof range!
If you have any questions, email us or leave a comment here.
Hope you enjoy this one.
Thank you!
Leave a Reply