How to Make an Envelope Cushion Cover with Plush Velvet
15th September, 2023
Hello! It’s Camilla, aka @she_sew_fabulous here, back again with another super simple beginner sewing tutorial.
This time, we’re going to make an envelope cushion cover, using some stunning printed plush velvet.
Before we begin, it’s important to note some key details about sewing with velvet:
Much like with corduroy, the pile of velvet runs in a particular direction – this means that the fabric will look darker or lighter in colour, depending on the angle you’re viewing it at. It will also feel smooth or rough, depending on the direction you’ve sewn in.
These points aren’t too much of an issue here, where you’re only using one continuous piece, but they will be important if you’re using velvet for clothes.
I have a dress that I sewed from stretch velvet and foolishly cut the skirt the wrong way round – it irritates me every time I wear it that it’s not smooth when I run my hands down it, nor is the colour exactly the same!
Some velvets fray A LOT, so you may want to overlock the edges to minimise this. This particular one didn’t fray at all, but some I’ve used fray everywhere.
I would advise against using an iron on velvet, as it can damage the fabric and ruin the colour. Alot of finger pressing and pins / clips will be your friend here!
Now that those key tips are out of the way, let’s get on with the sewing!
I picked this particular project because I hate zips (and I know I’m not alone!!)!
A zip-less cusion cover is super easy to make, only requires one continuous piece of fabric and gives you a neat and professional finish with minimal effort. Ideal!
How to Make an Envelope Cushion Cover with Plush Velvet
Fabric Requirements
For this project, you will need :
- A cusion pad (the one I’ve used here is 43cm x 43cm)
- Half a metre of fabric measuring at least 110cm across (this will vary depending on your cushion size – see measurement guide below)
- A sewing machine
- Thread
- Pins or clips
- Scissors
- Chalk or a fabric marker
- A ruler or measuring tape
Once you’re assembled your equipment, we’re ready to begin!

Step 1
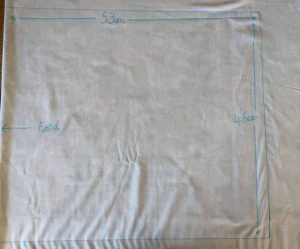
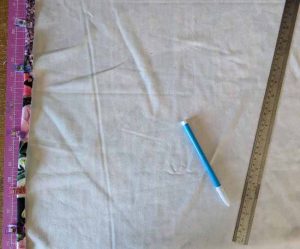
First, you need to measure and cut your fabric. For the cushion pad I used, I needed a piece that was 106cm across and 46cm down.
A general measurement guide if you’re using a cushion pad of a different size is :
– Long side : cushion width + 10cm x 2
– Short side : cushion width + 3cm
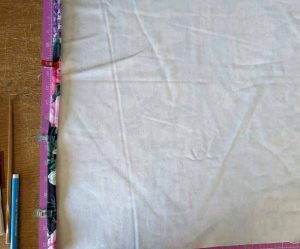
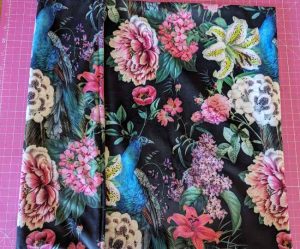
To make the cutting easier, I fold my fabric in half, as you can see from the picture below, meaning I measured a rectangle of 53cm x 46cm (with the 53cm part being on the fold to become 106cm when unfolded).
Step 2
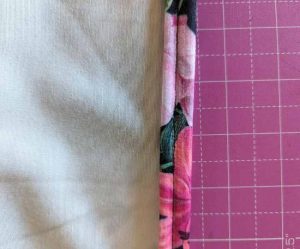
Your next task is to finish the short edges of your rectangle, as these will be visible and there are two ways of doing this.
If you’re using cotton (or another fabric you can iron) for your cushion cover, fold the short edge over by 1.5cm and press.
Then fold over and press again another 1.5cm. This will enclose the raw edge.
Pin and sew.
As it’s unwise to iron velvet, I would advise folding 1.5cm, pinning and sewing, then folding over again and repeating.
You can double fold and sew once (I’ve tried both ways) but sometimes the fabric comes apart slightly when you sew, leading to raw edges being exposed, so I advise the fold sew, fold sew method. Sew all the way down and repeat on the other short edge.
Step 3
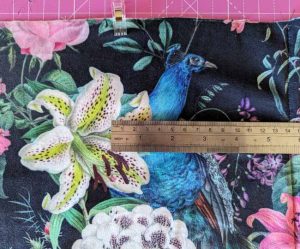
Next, you want to measure 15cm from one short edge. This will form your overlap (i.e. the envelope flap which allows you to insert your cushion).
Step 4
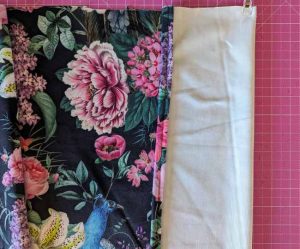
Fold the short end over by 15cm (right sides together) and then fold the other short side over the top. This will encase the overlap inside.

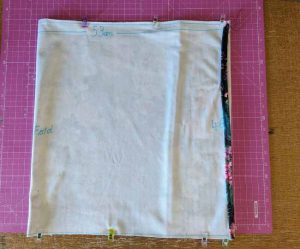
Step 5
Pin or clip the top and bottom edges together and then sew using a ⅝ inch seam allowance.
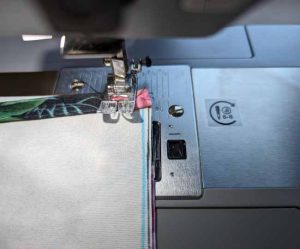
Step 6
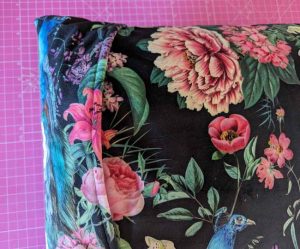
Make sure you sew all the way to the edge and then clip the corners.
This step is important, as otherwise you won’t have crisp corners when you turn out.
I advise using a chopstick to make sure your corners are nice and crisp (a pencil is often too sharp and rips the fabric).
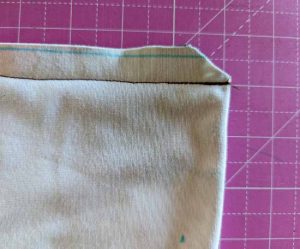
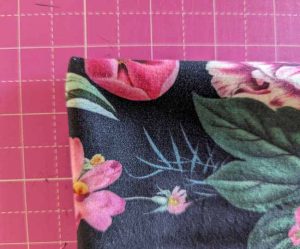
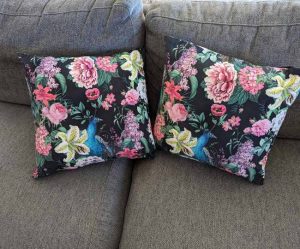
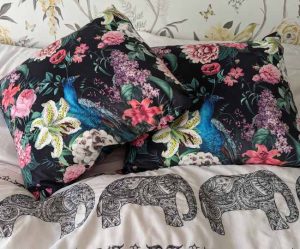
Step 7
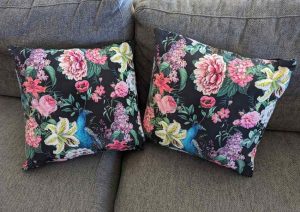
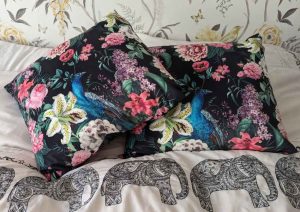
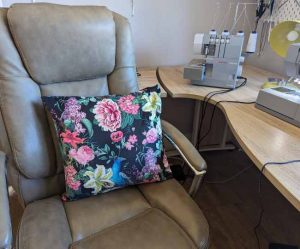
And there you have it! Once completed cushion cover (pictures below show it flat and with a cushion inside)
All done!
Conclusion
A cushion cover is a great beginner project!
It’s only one piece of fabric to cut, it’s all straight lines, you don’t have anything tricky to contend with like buttonholes or zips and crucially, it’s quite forgiving.
If your sewing goes a bit askew, the cushion will still fit – it might be slightly squashed or the cover slightly baggy, but no one will notice and you’ll be super proud of your handmade cushions sitting on your sofa.
They’re also so quick and easy to whip up that they make great presents for people and also pretty nifty scrap busters as well.
You can sew all sorts of scraps together into a rectangular shape and then follow the instructions above!
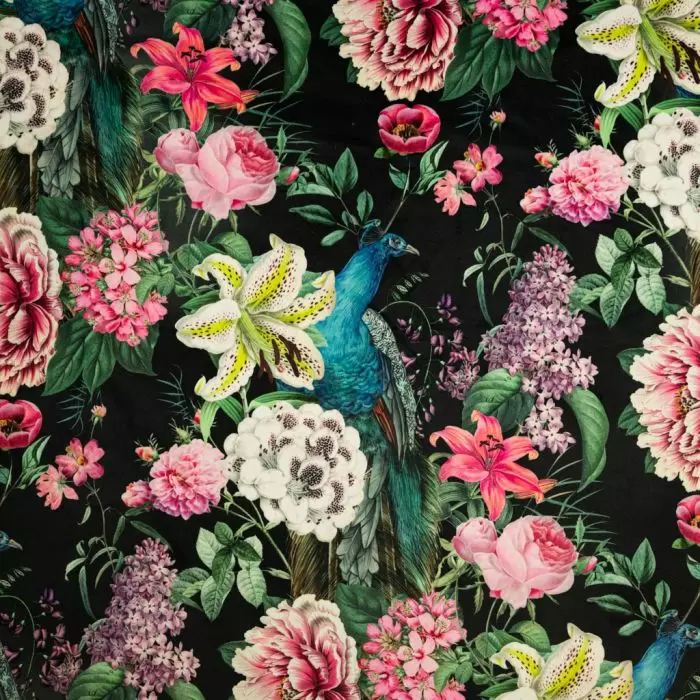
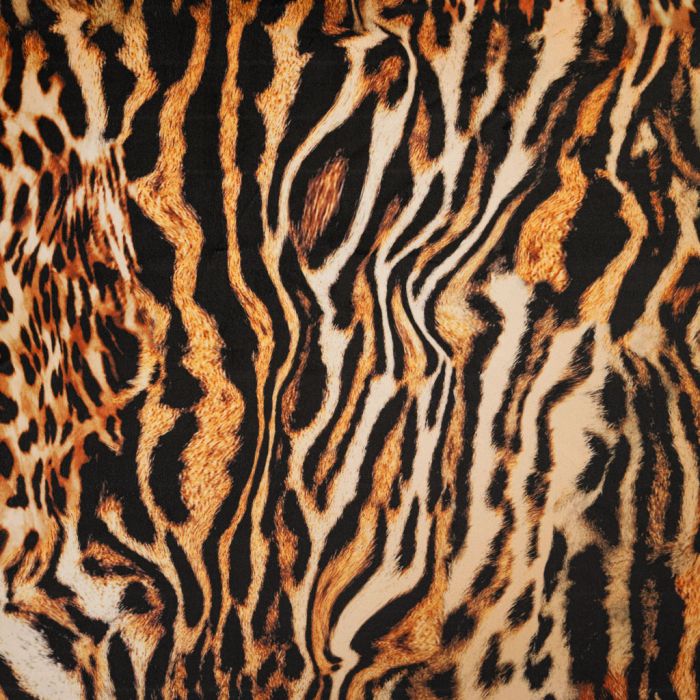
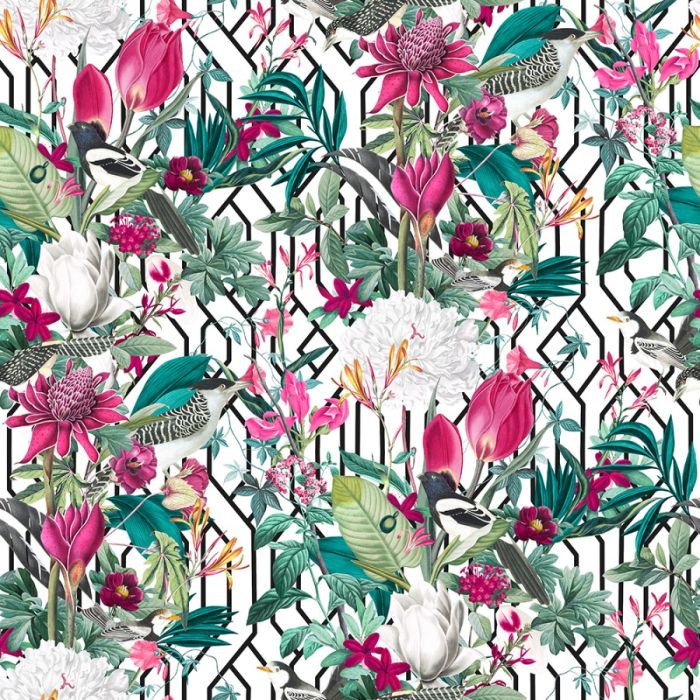
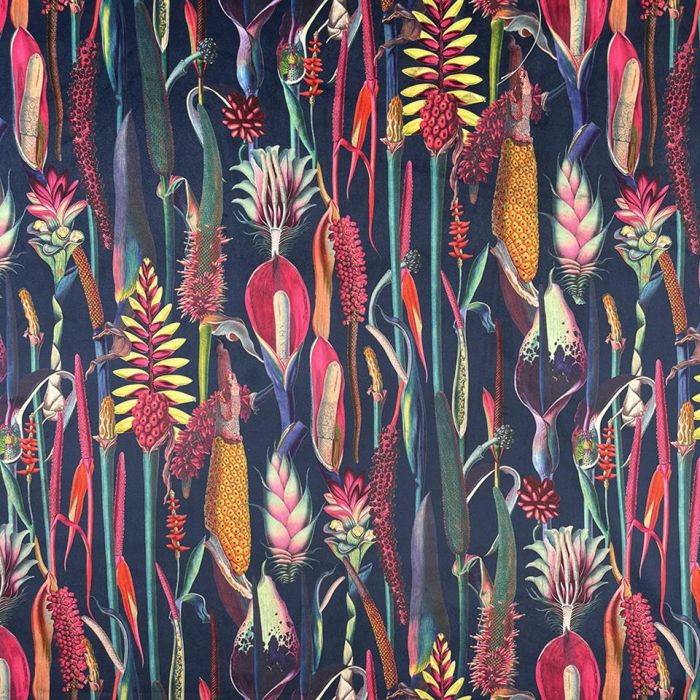
Printed Plush Velvet
If you make one, please tag @she_sew_fabulous and @ukfabricsonline on Instagram!
Tutorial created by Camilla (@she_sew_fabulous) for UK Fabrics Online.
Visit us at UK Fabrics Online to check our extensive Printed Plush Velvet range!
If you have any questions, email us or leave a comment here.
Hope you enjoy this one.
Thank you!
Leave a Reply