Hanging Christmas Ornaments – Tutorial
11th November, 2022
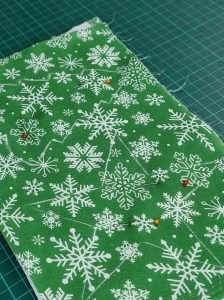
Fabrics used for this tutorial:
I have used polycotton from UK Fabrics Online which is perfect for this task and you can find it here:


https://ukfabricsonline.com/christmas-polycotton-fabric-christmas-snowflakes
https://ukfabricsonline.com/christmas-polycotton-fabric-christmas-party
–
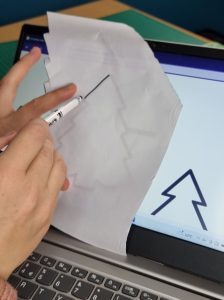
Start by choosing a design you would like as an ornament.
I chose a star and a Christmas tree and traced it off my laptop which is not your usual method, but it was the quicker method for me at the time.
All I did was type the shape I wanted and enlarged the image on the screen to the size I wanted.
Other tools that you will need are:
¼ yard polycotton
¼ yard wadding
Ribbon or something to create a loop for hanging
Sewing machine
Thread snips
Fabric scissors
Pinking shears
Marking tool
Needles
Grab your template and marking tool and trace it onto the right side of your fabric.
This will be your stitch line, so make sure that your marking tool is one that will disappear or wipe off. I have used chalk.
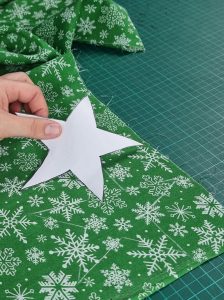
Cut roughly around the shape leaving at least 3 cm around the line you have just drawn.
Now cut 2 more layers the same size as what you have just cut – one more layer of your main fabric and another of wadding ( if you don’t have wadding, felt can also be used, it is just to make your shape a little sturdier).
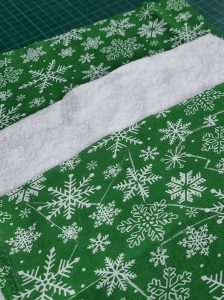
Now lay all your pieces on top of each other sandwiching the wadding in between the main fabric pieces.
They should be layered like this:
1 fabric main wrong side up
1 wadding
1 fabric main right side up
And now place some pins in the middle of your shape to keep all those layers together without moving.
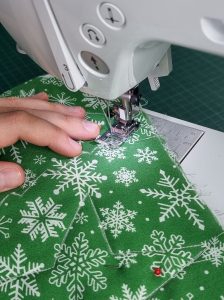
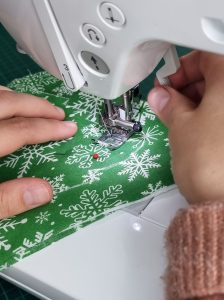
Take all these layers to your sewing machine and sew over the lines you drew.
Take your time, especially if you have sharp corners. When you get to a corner, lift your presser foot and pivot your fabric so that you can follow your next line. Don’t forget to back stitch at the beginning and end of your of your stitch line
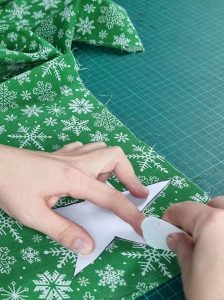
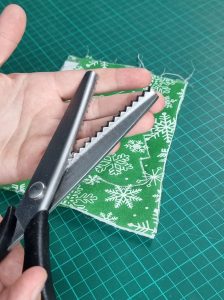
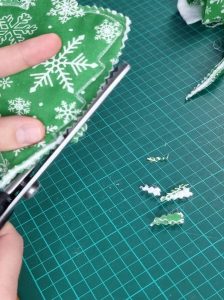
Grab some pinking shears and cut around your shape leaving about ¼ inch from your stitch line.
Take care not to cut through your stitch line.
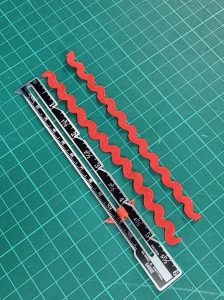
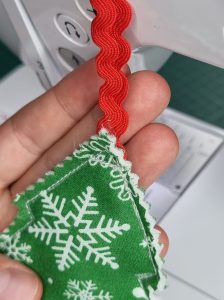
To hang my ornament, I am using ric rac and cutting a length of 14 cm.
Burn* the ends of the ric rac so that it doesn’t fray.

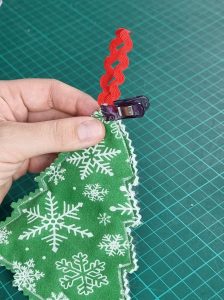
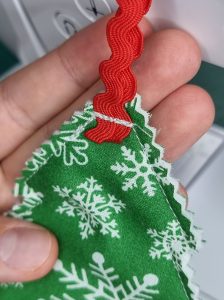
Now place the ric rac where you want on your ornament and pin or clip it in place.
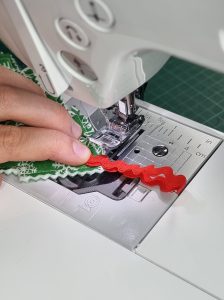
Take it to your sewing machine and stitch the ric rac in place.
I have just used a straight stitch and went back and forth a few times to make sure it is secured.
Alternatively, you could sandwich the ric rac in between your layers of fabric before sewing them together. I tried both options and found that sandwiching them in between the fabric was a bit fiddly to cut out later with the pinking shears – trying not to cut into the ric rac I had to pull them out the way.
Your hanging Christmas ornament is complete. I hope you have enjoyed following this tutorial today.

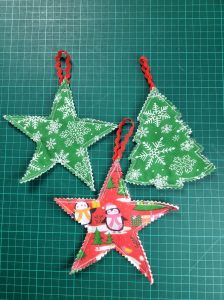
Let us see your makes if you follow our tutorial. Hope you enjoyed and Happy sewing!
Tutorial created by Beesilva.creates for UK Fabrics Online.
Instagram – beesilva.creates
Youtube – Beesilva
Disclaimer: *Exercise extreme caution when using a lighter so you don’t burn yourself.
Leave a Reply