How To Sew Your Own Dry Robe – Tutorial
1st December, 2023

Hi! I’m Annabel from Annabel Sews (@annabelsews) and in this blog post, I am going to show you how to sew your own dry robe!

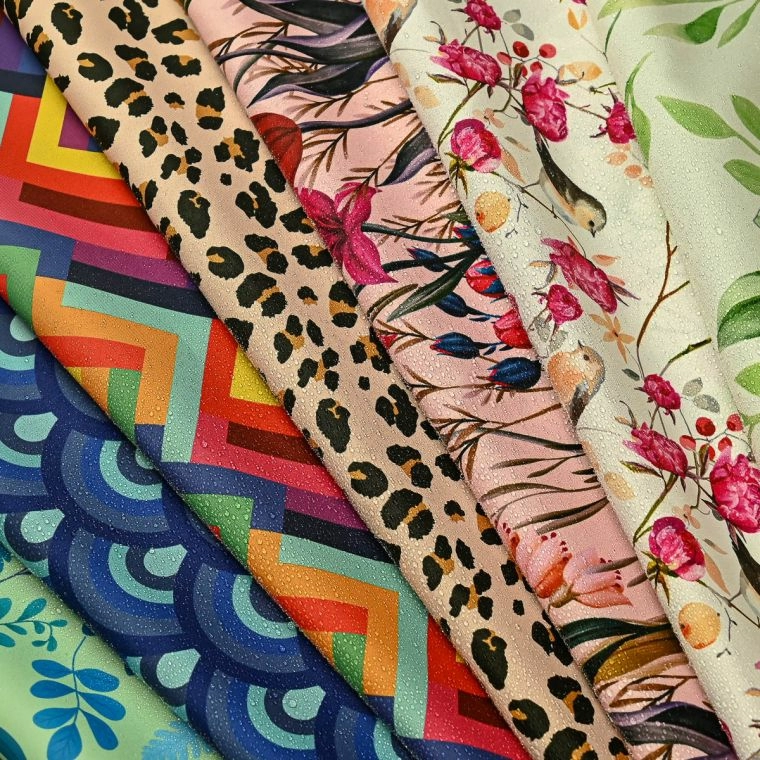
Let’s Talk About Fabric
You will need two or three layers, depending on your choices, and they have different jobs to play:
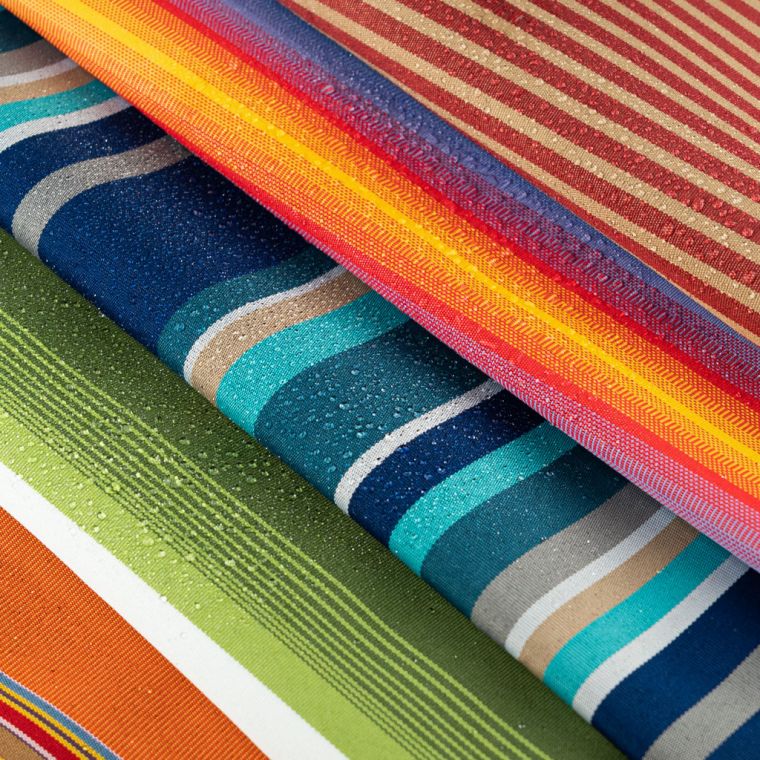
Outer Layer
You really need something waterproof, you could, at a push, work with a water resistant fabric, but if you’re envisaging British weather, I would aim for a fully waterproof offering.
I would also consider the weight and drape of the fabric; if you have something too thick, it will be hard to sew, and uncomfortable to wear.
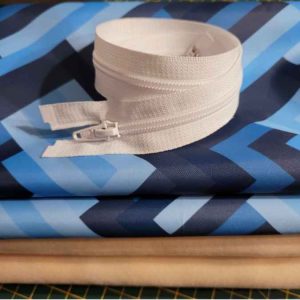
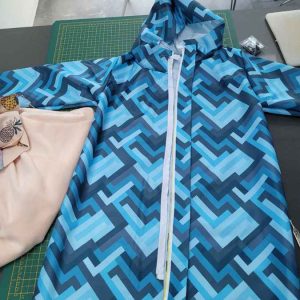
My favourite option would be Textura™ WP113 Printed Waterproof Outdoor Fabric, but PUL, Waterproof Canvas, or even 100% Wool could work in its place.
Inner Layer
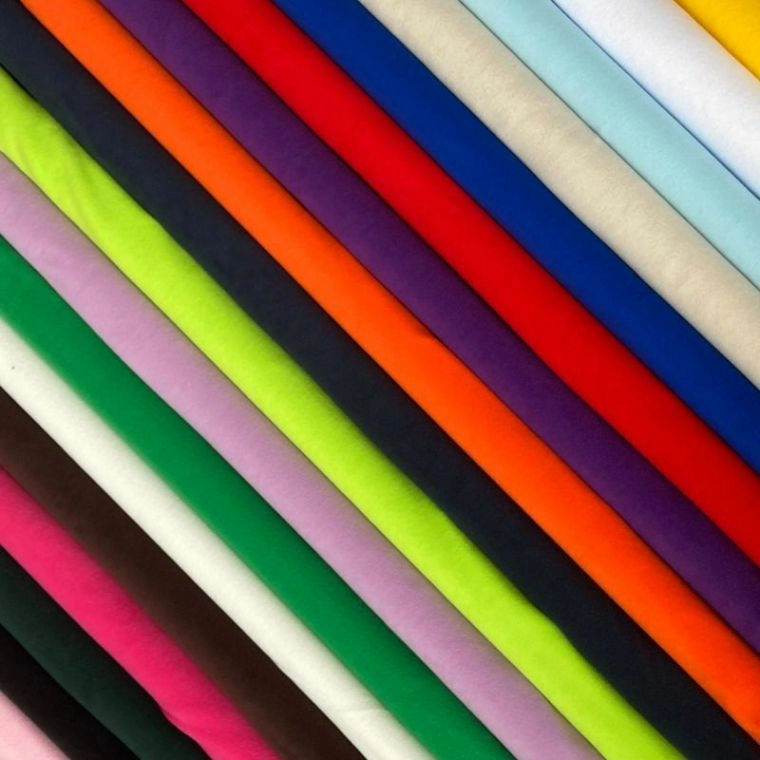
For the lining, you want something soft against your skin.
- If you plan on wearing your robe directly after swimming, while still wet, in a swimming costume, or over a wetsuit, then you would probably want a towelling layer innermost.
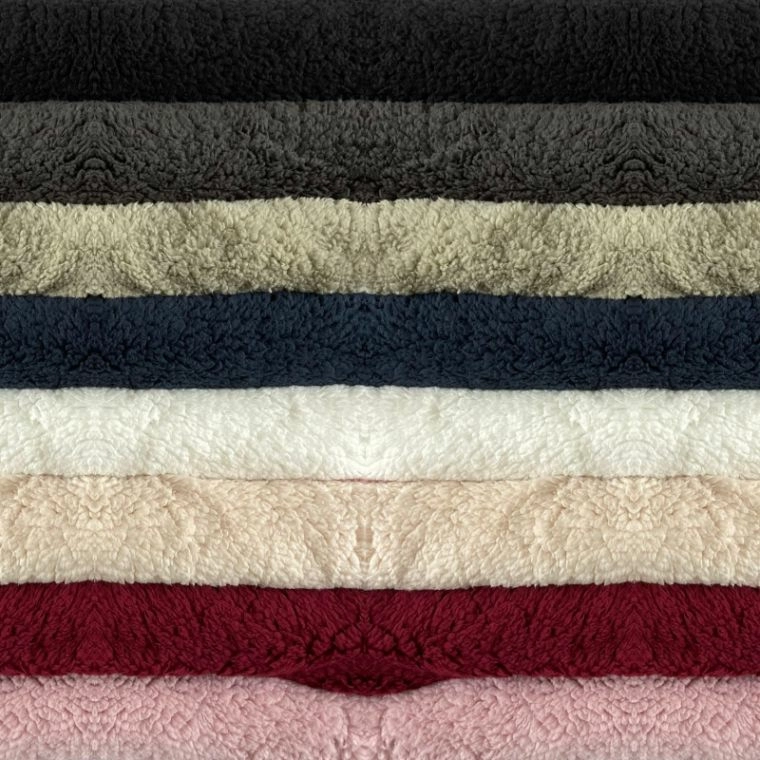
- If you plan on wearing it as an outer layer after you have changed, or as a modesty gown while you’re getting changed, or just as a scrumptious coat, then comfort would trump absorbency and I’d go for Fleece or Sherpa.
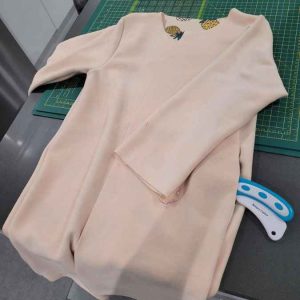
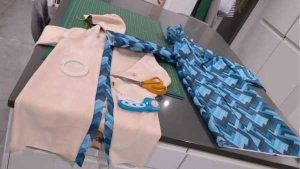
For my lining I have used a sweatshirting fleece I have an abundance of, I have treated it ‘inside out’ as I wanted the smooth, plain side to be my right side, so occasionally in the photos you may see some pineapples as the ‘wrong side’. This is intentional.
- If both the inner and outer fabrics chosen are very thin, I’d add a third layer of fleece in between.
If you do this, follow the cutting instructions below but cut the ‘lining’ pieces in your middle layer too, and sandwich them together, treating them together as the lining.

Fabric Requirements
Children’s version:
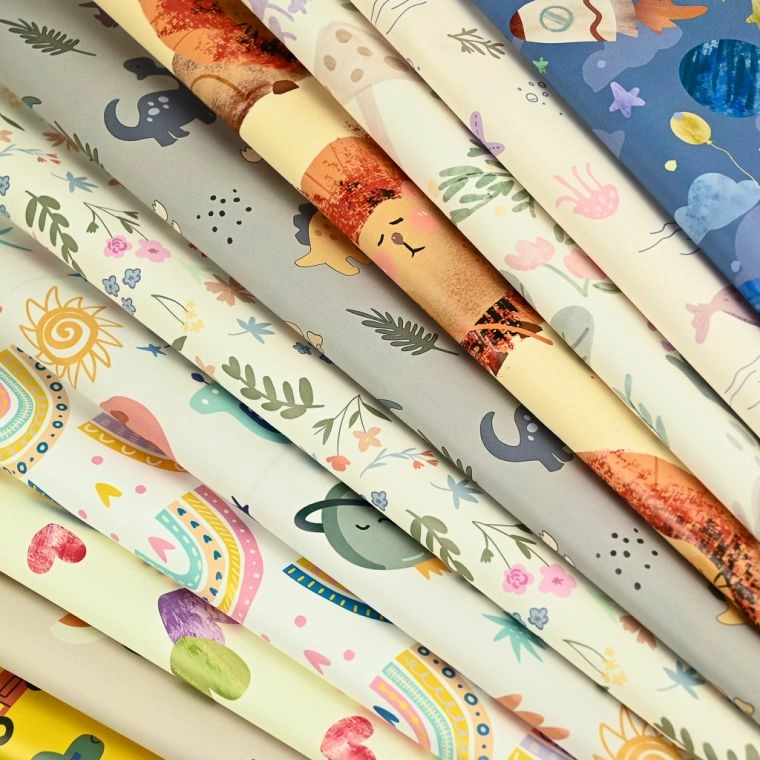
- 2m outer fabric (Waterproof like Textura™ WP113, Textura™ WP20K, Outdoor Canvas, Water Repellent Canvas or even Kids PUL.)
- 2m lining fabric (soft and/or absorbent like Anti-Polar Fleece, Printed Fleece or Sherpa Fleece.)
- Open ended zip, I used 24” but anything 20” to 26” would work.
Adult’s version:
- 3m outer fabric (Waterproof like Textura™ WP113, Textura™ WP20K, Outdoor Canvas, Water Repellent Canvas or even Kids PUL.)
- 3m lining fabric (soft and/or absorbent like (Anti-Polar Fleece, Printed Fleece or Sherpa Fleece.)
- Open ended zip, 26” to 30” depending on height.
- Ruler
- Scissors or Rotary cutter and Self healing mat
- Tape measure
- Sewing machine
- Overlocker (optional)
- Washaway sewing tape
- Sewing clips (not pins!)
- Complementary thread
- Hand sewing needle and thread
Cutting the Fabric
IMPORTANT – I base my changing robes on an oversize sweater pattern, I haven’t found a pattern for exactly what I want, so I use this jumper as a base, and I’ll show you what to cut, and how to assemble it into a robe.
I chose this pattern because it covers all sizes, from 2 years to XL adults in three height options.
Cwtch Cosy Hoodie child pdf sewing pattern £5.00 (mothergrimmpatterns.co.uk)
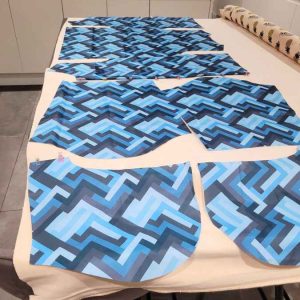
Main (outer) Fabric
Back – cut one on fold – as per pattern.
Front – cut two – add 1.5” to the ‘centre fold’ line to allow space for the zip going in.
Sleeves – cut two – as per pattern – I make them a little less tapered at the wrist, you can see how I tweak the size here.
Hood – cut two – add 1.5” to the ‘centre fold’ line to allow space for the zip going in.
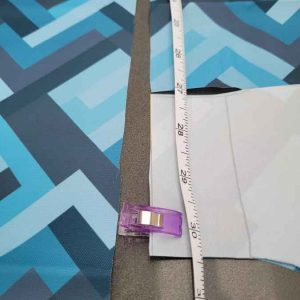
Zip guard – 3” x 28” – cut one (I did age 9, you may want a longer or shorter one depending on which size you choose).
Facing – 1.5” x ?” – cut two (to get your length, measure the centre front cut lines on both the hood and the main and add them together).
Lining (inner) fabric
Back – cut one on fold – as per pattern.
Front – cut two – along the fold line.
Sleeves – cut two – as per pattern – I make them a little less tapered at the wrist, you can see how I tweak the size here.
Hood – cut two – along the fold line.
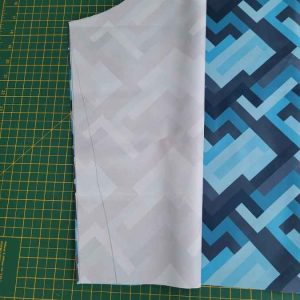
Sleeve Diagram: this sleeve is ‘on the fold’, meaning, its been folded in half from shoulder to wrist. I’ve added 1.5” at the wrist, and gradually tapered this to meet the sleeve, as it was designed, at the wrist.
How To Make Your Own Dry Robe
Step 1
Take your main (outer) front and back pieces, sew them right sides together at the shoulders and side seams, DO NOT SEW THROUGH THE ARMPIT.
Depending on your fabric, you may wish to use a straight stitch on a sewing machine (woven, non stretchy fabrics) or a stretch stitch on a sewing machine or overlocker (knit, stretchy fabrics).
Use the seam allowance of the pattern of your choosing, usually 6mm (1/4”) or 10mm (3/8”).
I using a straight stitch on a sewing machine for woven fabrics, you may choose to ‘finish’ your seams with an overlocker or zig zag stitch on a sewing machine.
To ‘finish’ your seams, is to stop them from fraying, if you do not have an overlocker, or a zig zag stitch on your machine, you could also use pinking shears. This is an optional step, but highly encouraged if your fabric will fray and unravel.

Step 2
Fold each sleeve in half, right sides together, along the fold line, and sew the armpit to wrist seam (the straight line you adjusted the angle of previously). Finish the seam.
Step 3
With your bodice INSIDE OUT and your sleeves, RIGHT WAY OUT, place your sleeve inside the arm syce, match the underarm seams of both the sleeve and the bodice, and match the fold mark of the arm with the shoulder seam.
Pin (or use sewing clips) to evenly distribute the rest of the sleeve to the arm hole. If they do not fit perfectly, pin the half way points, and ease the rest in.
Sew the sleeve to the bodice in a circular motion.
Step 4
Place the two hood pieces RIGHT SIDES TOGETHER and sew along the curved seam, starting at the forehead, working back towards the nape of the neck.
Step 5
With your bodice INSIDE OUT and your hood RIGHT WAY OUT, place your hood inside the bodice, matching the centre fronts, centre back of the hood, with the centre back of the bodice (you can find this by folding it in half) and ease the rest of the neckline in. Sew.
Step 6
Repeat steps 1 to 5 with the lining leaving a 10” gap when sewing the side seam of one side (we will use this to turn the robe right sides out later).
For a more thorough explanation of steps 1 – 6 please see the pattern you are using as your base.
This tutorial will cover the additional steps to make it into a changing robe, not focus on the standard construction.
Step 7
Measure the length of the centre front (the hood section and the main front section together) and cut your facing pieces (1.5” x this length). Sew one RIGHT SIDES TOGETHER to each side of the centre front of the lining pieces.
TOP TIP – If your fabrics have different levels of stretch, where possible always sew with the least stretchy fabric on top, and, where practicable, use washaway zip tape to stop the stretchier fabric stretching as you sew.
Step 8
Take your zip shield and fold it in half, RIGHT SIDES TOGETHER, to create a long, thin rectangle. Sew the two short ends. Turn it RIGHT SIDES OUT and press (if your fabric can be ironed, if not, finger press, or use a seam roller).
Step 9
Unzip your zip.
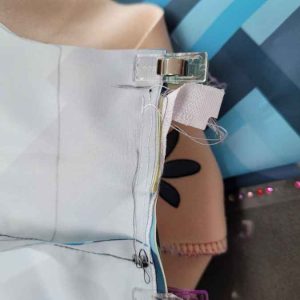
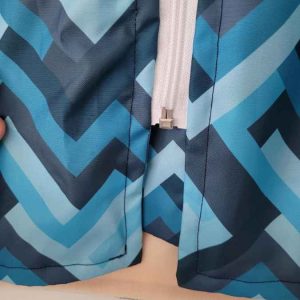
On the left front bodice (right, as you look at it from above), use zip tape to secure your zip RIGHT SIDES TOGETHER to the centre front seam. Align you zip so that the zip teeth start 1” from the top of the hood.
Fold the spare zip tape (at the top, where there are no zip teeth) to the raw edge, pin or baste out of the way. Optional: baste zip in place but NOT THE TOP 1” of the zip.
Step 10
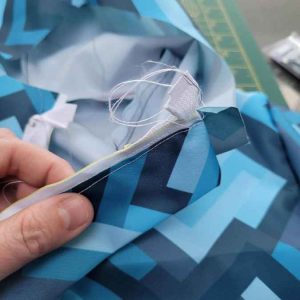
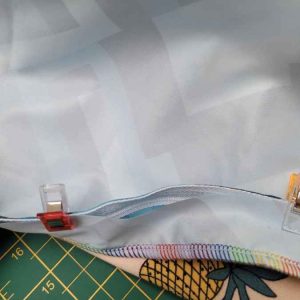
Place the zip guard on top of the zip (creating a zip sandwich, front of robe, zip, guard) with raw edges aligned with the raw edges of the robe, and the side of the zip tape.
The zip guard needs to extend 1” above the zip at the top, and there should be excess below the bottom of the zip too.
At the bottom, keep the raw edges of the front panel of the robe aligned with the raw edges of the zip guard for as long as the zip guard extends.
At the top, peel back the top 1” of the zip and fold the zip guard over and under.
At the very top you should have (bottom to top): front bodice, zip guard flap, zip, zip guard. The top of the zip, and the fold in the zip guard, should stop 1” below the top of the seam. Sew in place.
Take care when sewing close to the zip teeth, try to keep as straight line as possible.
When you get near the zipper pull, stop, needle down, presser foot up, and move the zip pull out of the way, before putting your presser foot down and continuing on again.
Secure your stitches at the beginning and end.
You do not need to sew the full length of the seam, start and stop at the extremities of the zip guard.
Step 11
You are now going to put the second half of the zip onto the right side of the bodice (left, as you look at it from above).
Measure precisely where your zip starts and stops on the left bodice and, using zip tape to help, position the zip, RIGHT SIDES TOGETHER with the bodice. Sew in place.
Step 12
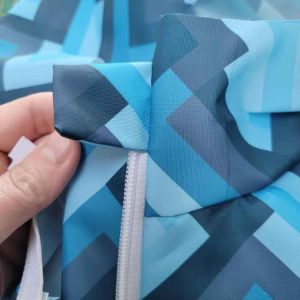
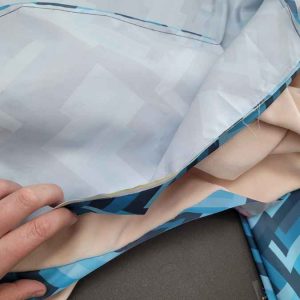
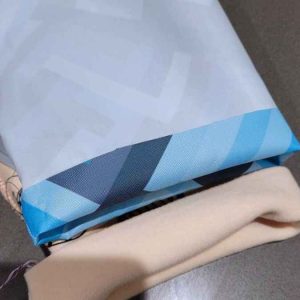
Place your lining, RIGHT SIDES TOGETHER with the outer, along the two front edges and around the hood.
Line up the bottom hems, pivot points at the neck, and the centre front hoods.
You are going to be sewing over your zip and zip guard again, ensure they are tucked in, as they were when they were sewn, and only raw edges and zip tape are aligned.
Sew, starting 1cm up from the bottom hem of the left, all the way up, stopping to pivot 1cm from the neck, around the hood, stopping to pivot 1cm from the neck, and back down the right side, stopping 1cm before the hem.
Check you caught all of the seam, especially around the hood.
ADVANCED OPTIONS: skip steps 13 and 14 and follow step 19 for a more beginner friendly way to hem sleeves.

Step 13
Lay your coat as flat as possible inside out; the lining will be face up and the main will be face down.
The zip should be very left and very right, with the hood at the top.
The arms should be outwards, with two on either side, the main fabric arms should be on top of each corresponding lining arm.
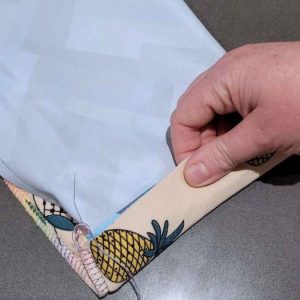
Working with the two on the same side, take each and fold a hem 1” to the wrong side (as they are inside out, the hem will be on the outside.
Slide the main sleeve into the fold created on the lining, using your thumbs, flip the other half of the lining over the rest of the main fold. This is really hard to describe in words: use this video to help! Sew around the raw edges, it will take a lot of wiggling to get it around the machine but you can do it!
Step 14
Repeat for the other sleeve
Step 15
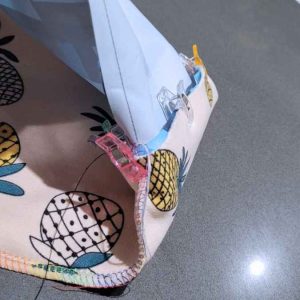
Lay the coat out flat as before, and align the bottom hems of the main and lining, right sides together, making sure the side seams match, and the centre backs are central.
Sew along the bottom, starting and stopping at the 1cm markers you used when you sewed the centre front and hood together.
Secure your stitches well with reverse stitches at the beginning and end.

Step 16
Turn the coat through the hole left in step 6. Carefully pull through all parts and sleeves, use something pointy (like a chopstick) to get crisp corners. Press (if appropriate for your fabric).
Step 17
Optional: Top stitch the whole perimeter, up one side of the zip, around the hood, down the other side of the zip, and along the bottom back to where you started.
Step 18
Sew the turning hole closed, tucking the raw edges inside, either by hand with a ladder stitch, or by machine using a small seam allowance.
Step 19
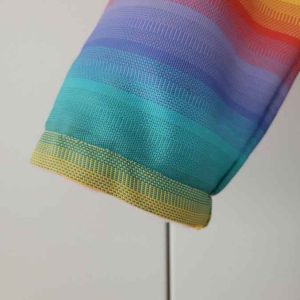
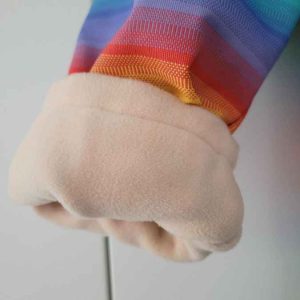
Easier sleeve hems: With the coat finished, and the lining sleeve inside the main sleeve, wrong sides together (as the coat is right side out, and the lining is right side touching your body), fold each sleeve hem 1” to the wrong side and press (if appropriate).
Clip the fold of the main to the fold of the lining in a circle, matching underarm seams. Sew.
You are ‘faking’ a top stitch, so this stitch will be visible on the outside. Repeat for the other arm.
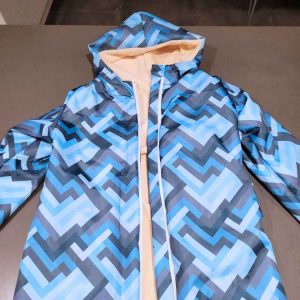
and that is it! You are now done with your handmade Dry Robe!
All done! You will find all the fabrics used below:
If you make one, please tag @annabelsews and @ukfabricsonline on Instagram!
Tutorial created by Annabel (@annabelsews) for UK Fabrics Online.
If you have any questions, email us or leave a comment here.
Hope you enjoy this one.
Thank you!
Leave a Reply